How to Make a Retro Gaming Console with Raspberry Pi
by Alan Pfahler on March 25, 2021Enjoy a blast to the past with retro video games. N64, Super Nintendo, NES, PS1, the gaming classics are still lots of fun. This guide will show you everything you need to do to get playing.
1. Things You Will Need
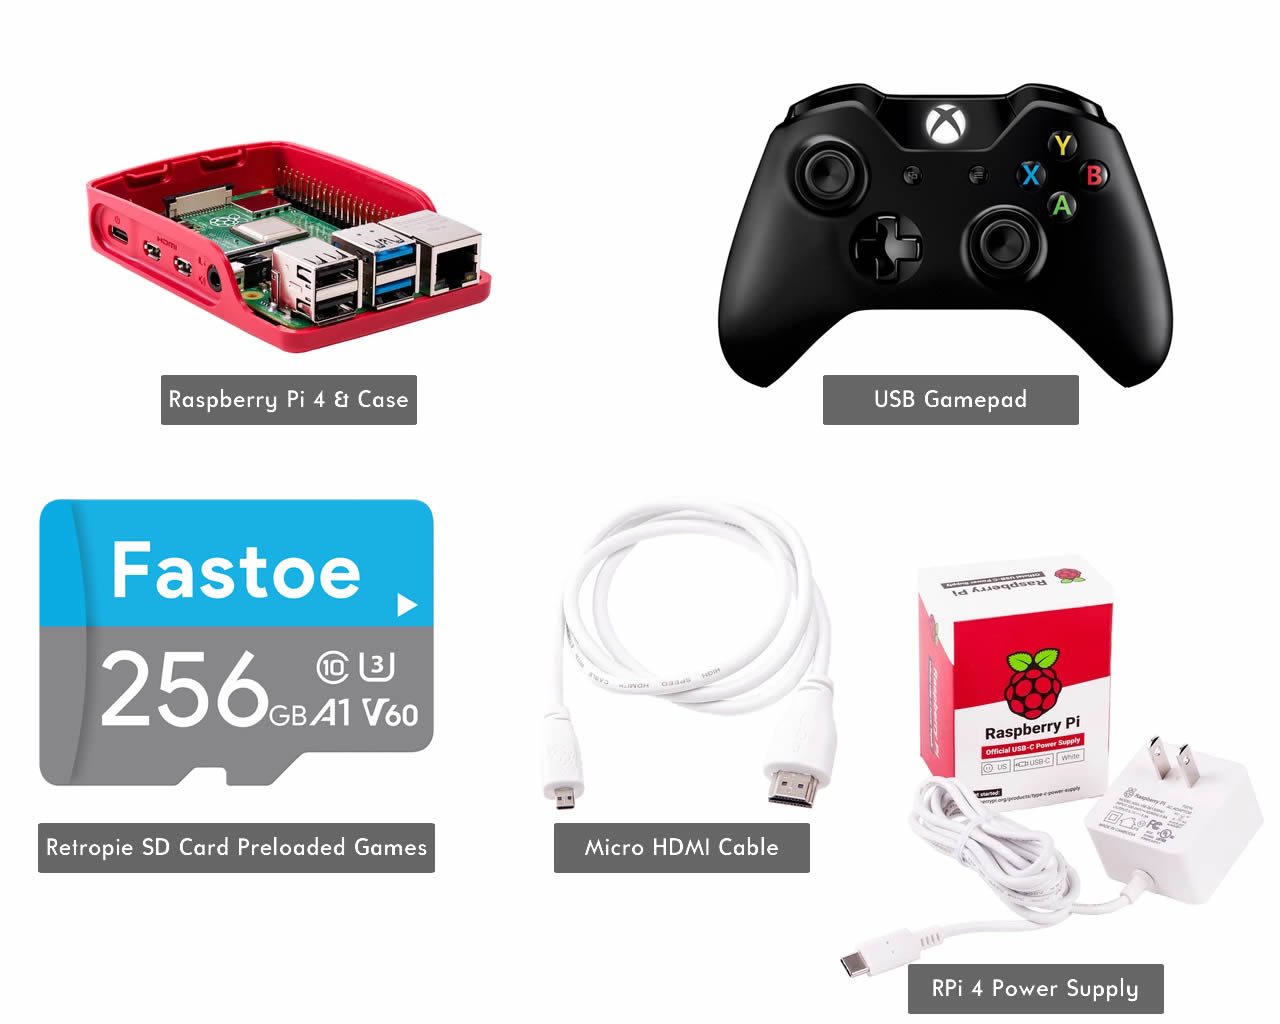
- Raspberry Pi 4
- One or more controllers
- 128GB or 256GB MicroSD SD Card
- Raspberry Pi 4 Power Supply
- Raspberry Pi 4 case
- Micro HDMI to HDMI Cable
2. Download and Flash to a MicroSD Card
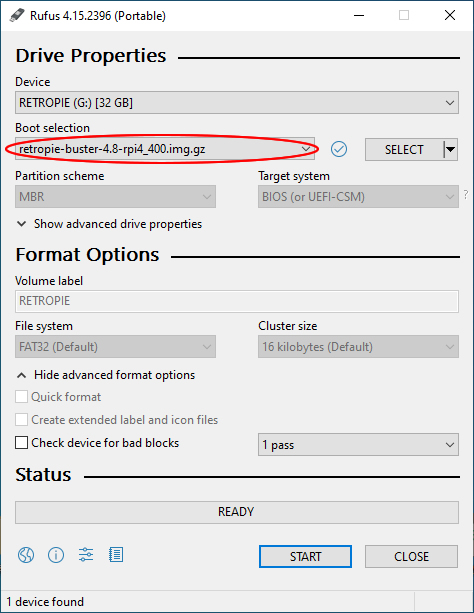
- Download the RetroPie image for your version of the Raspberry Pi.
- Download Rufus.
- Plug the USB card reader into a USB port on your computer. Write the RetroPie image to the MicroSD card.
- Run Rufus, select the microSD card you just inserted.
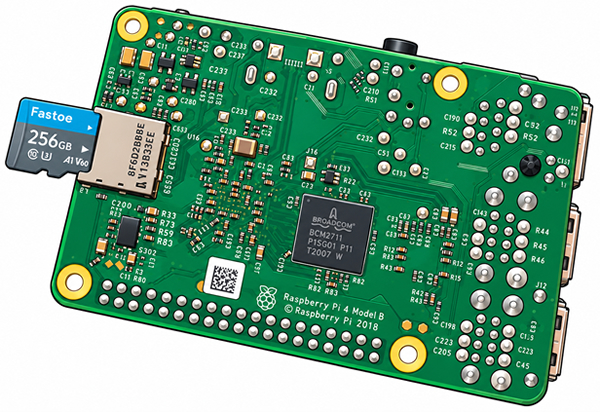
- Once complete, safely remove your microSD, and connect it to the Raspberry Pi microSD card slot.
- Plug in the power and the system will automatically start.
3. Connect Everything Together
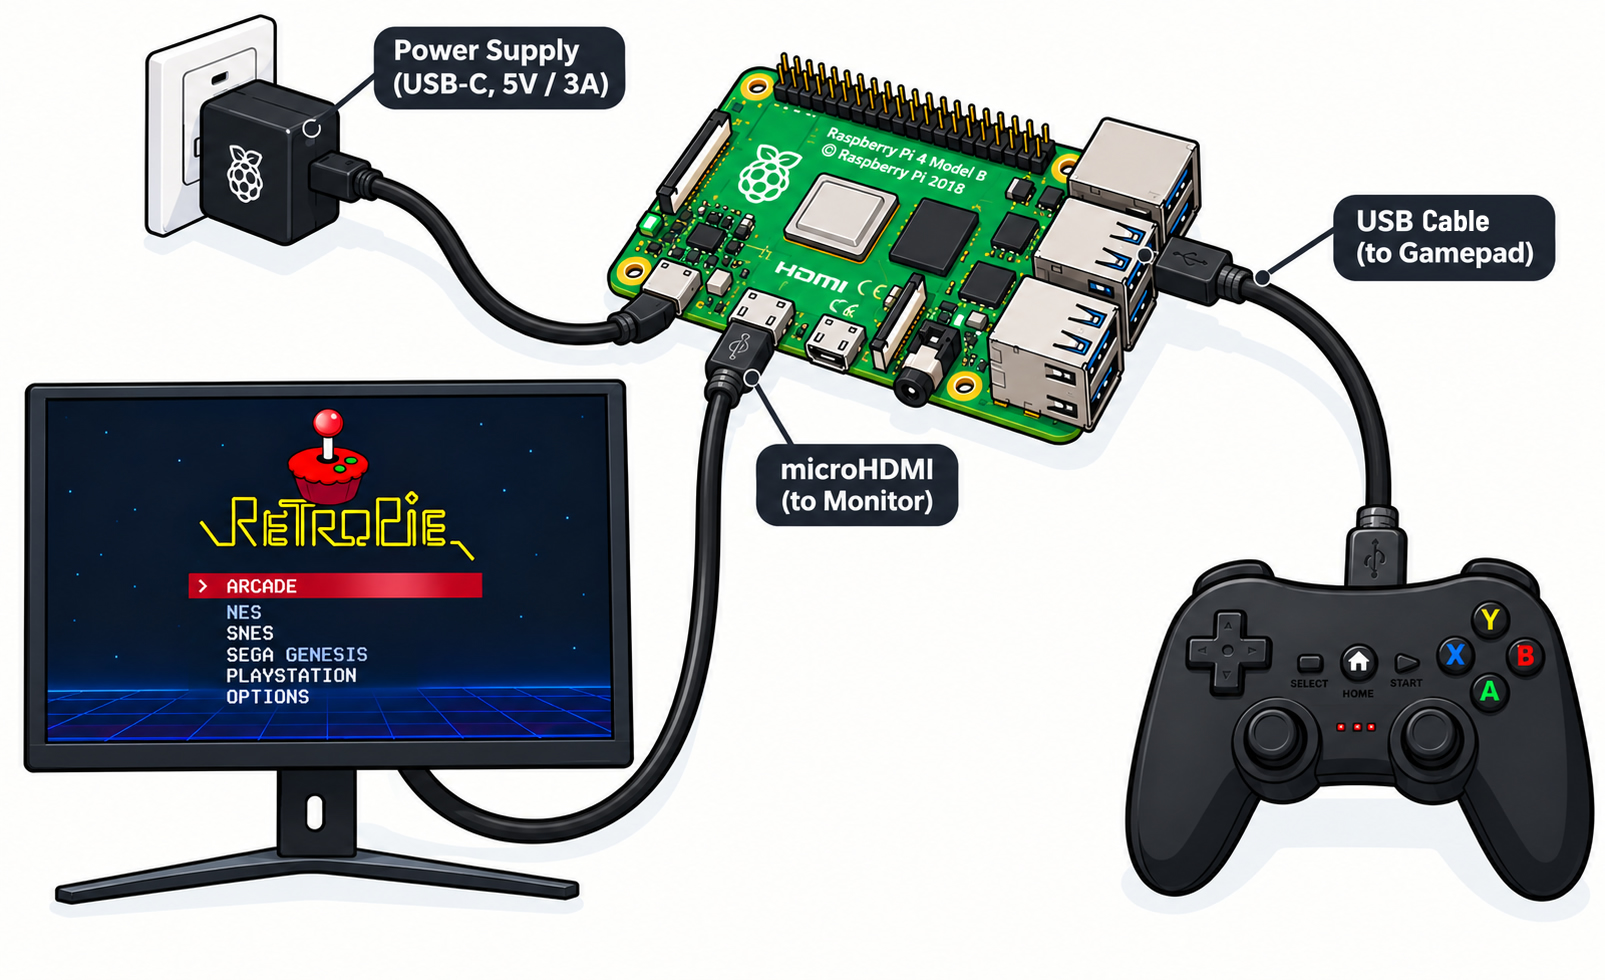
Before starting up the system by plugging it in (the Pi has no on/off switch, so it will be on as long as it is plugged in), hook the HDMI cable to the Raspberry Pi and to a TV set or monitor. Also, plug in the Fastoe Retropie Gaming SD Card and plug in a USB gamepad.
| Retropie MicroSD Card | -> | Raspberry Pi MicroSD Card Slot |
| Raspberry Pi Micro HDMI Port | microHDMI Cable | TV or Monitor |
| Raspberry Pi USB Port | USB Cable | USB Gamepad |
| Power Supply | -> | Raspberry Pi Power Port |
Now’s the time to unwrap your handy Raspberry Pi power adapter and plug it into an AC outlet. Carefully plug the micro USB connector into the side of the Raspberry Pi. The unit will power up.
4. Configuring Your Controller
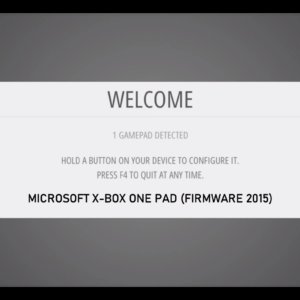
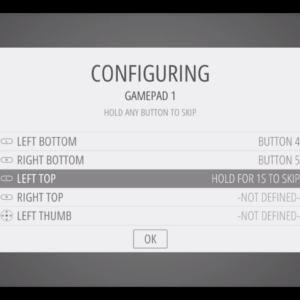
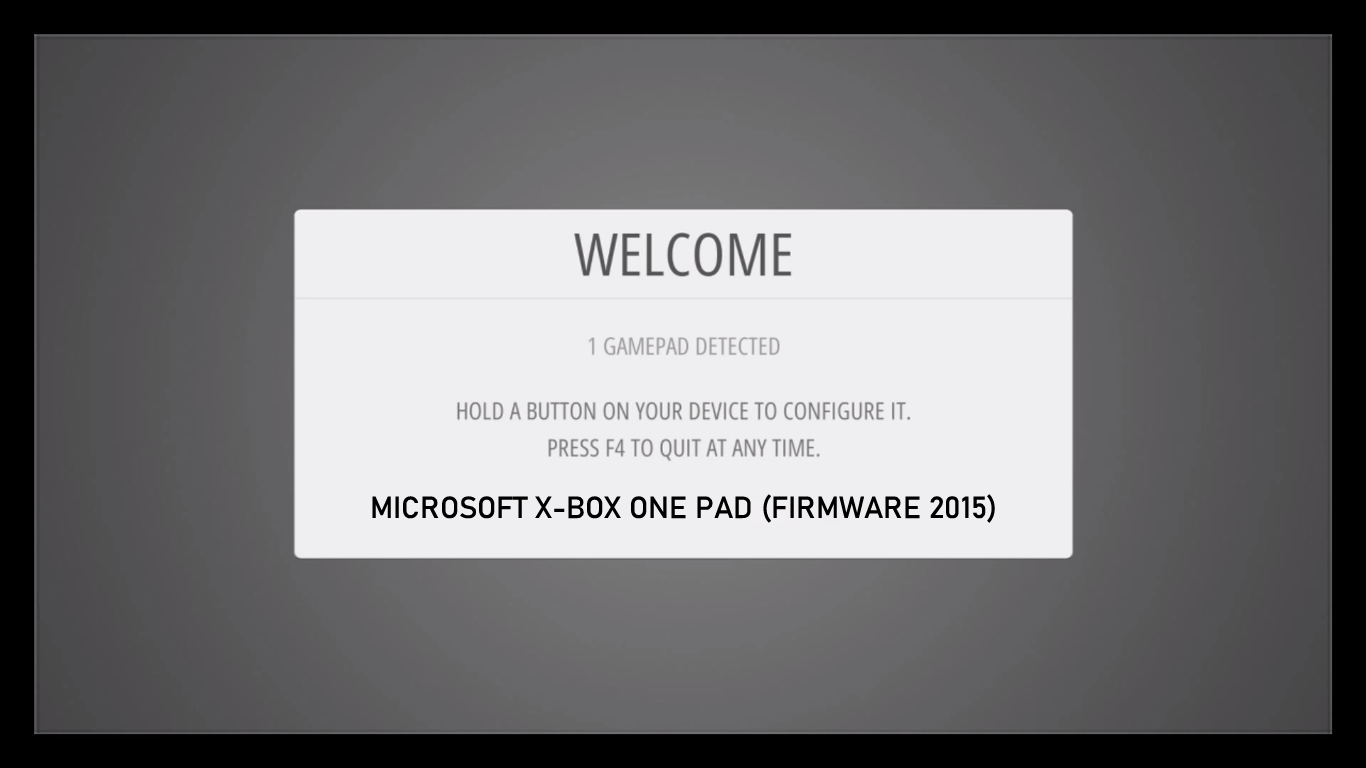
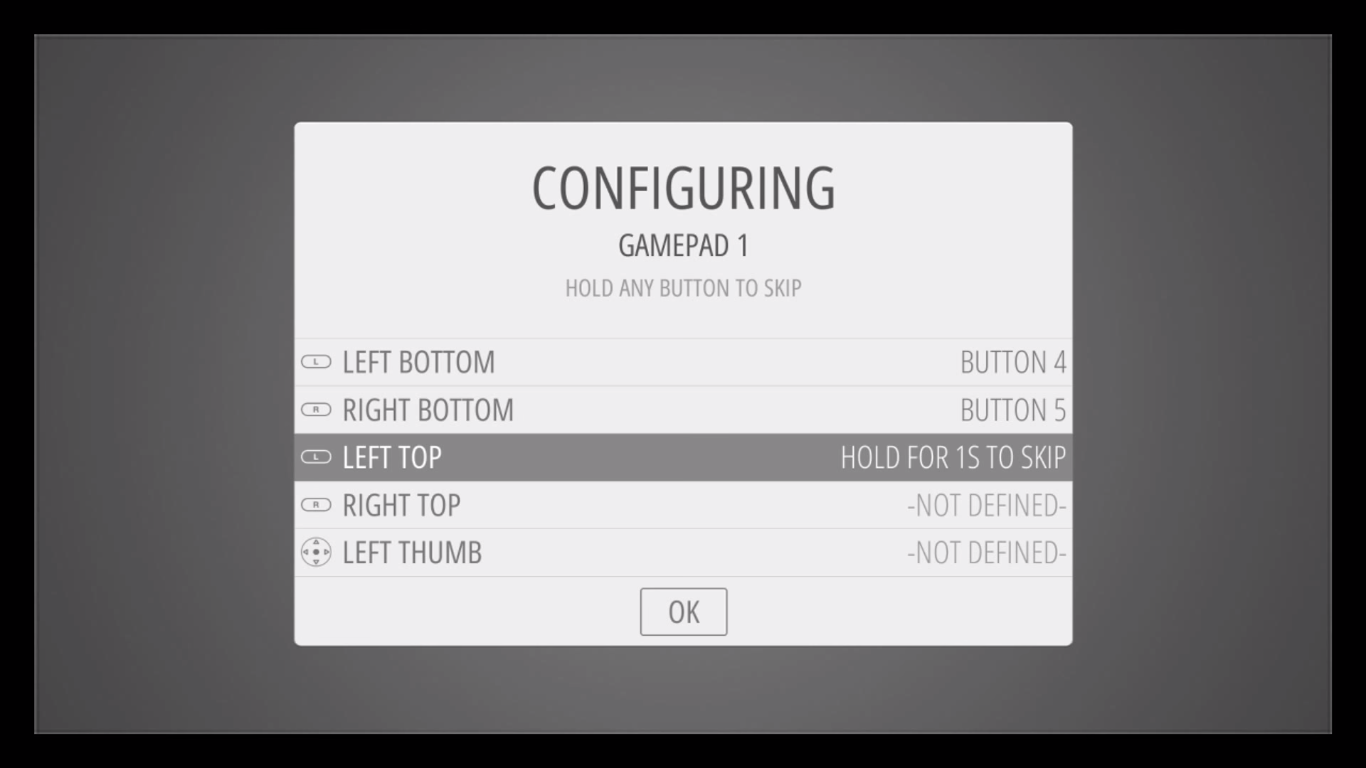
- You'll now want to configure your USB gamepad to work with your Pi.
5. Add Games to RetroPie
- Download game ROMS
- Transfer your game ROMs to RetroPie