How to Configure Your RetroPie Controller
by Alan Pfahler on August 20, 2021Configure your RetroPie controller
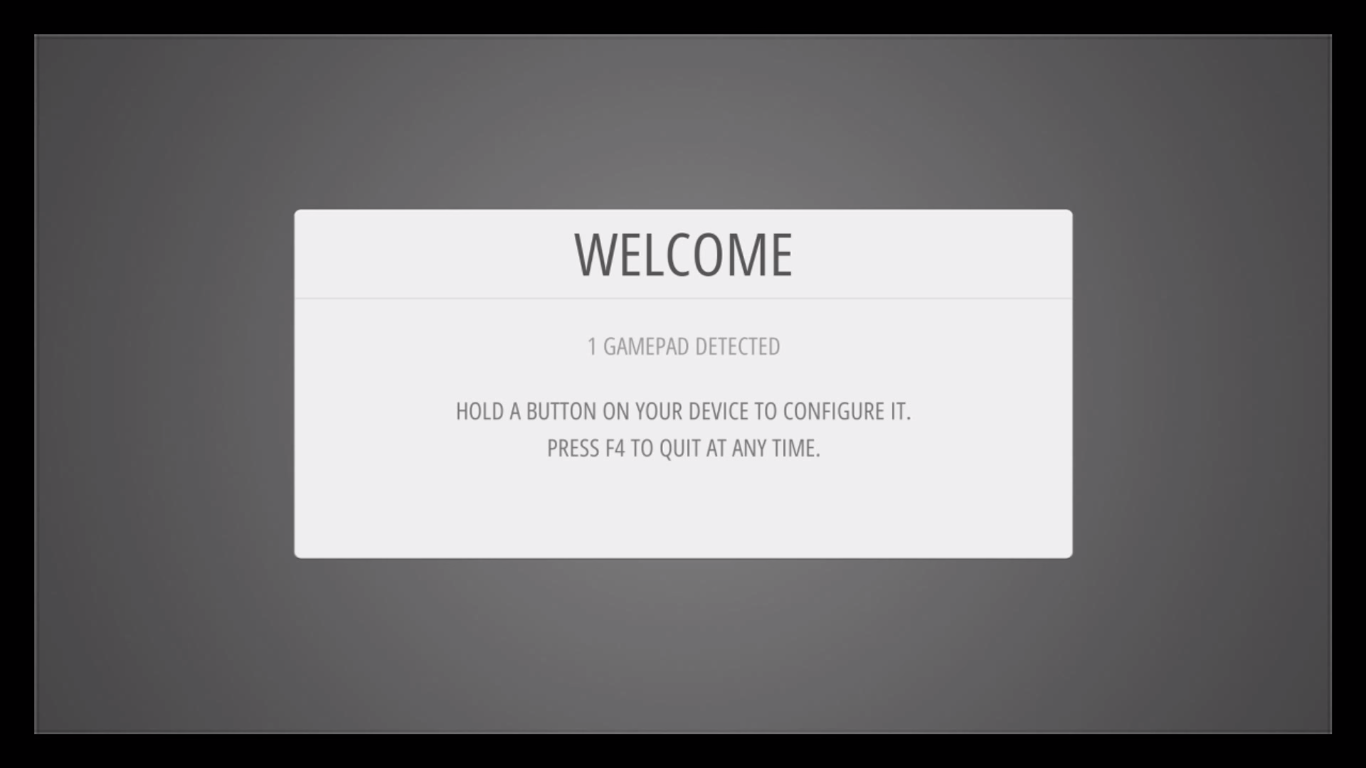
Switch on the power to your Raspberry Pi. After a minute or so, EmulationStation will launch and ask you to configure your controller, you will see a screen that says: “WELCOME. 1 GAMEPADS DETECTED. HOLD A BUTTON ON YOUR DEVICE TO CONFIGURE IT. PRESS F4 TO QUIT AT ANY TIME.”. The setup script will guide you through pairing the buttons.
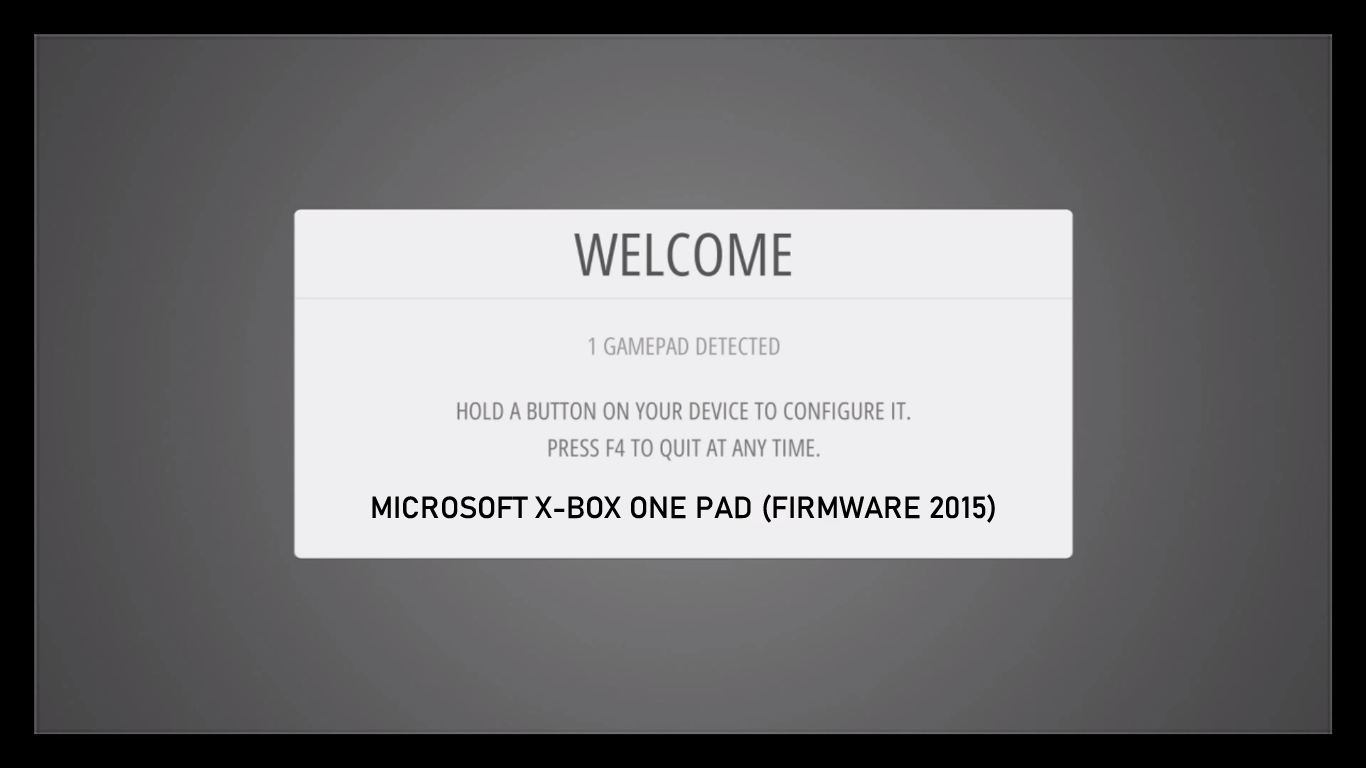
 Hold down any button on your keyboard or gamepad and the name will appear at the bottom and then open up into a configuration menu.
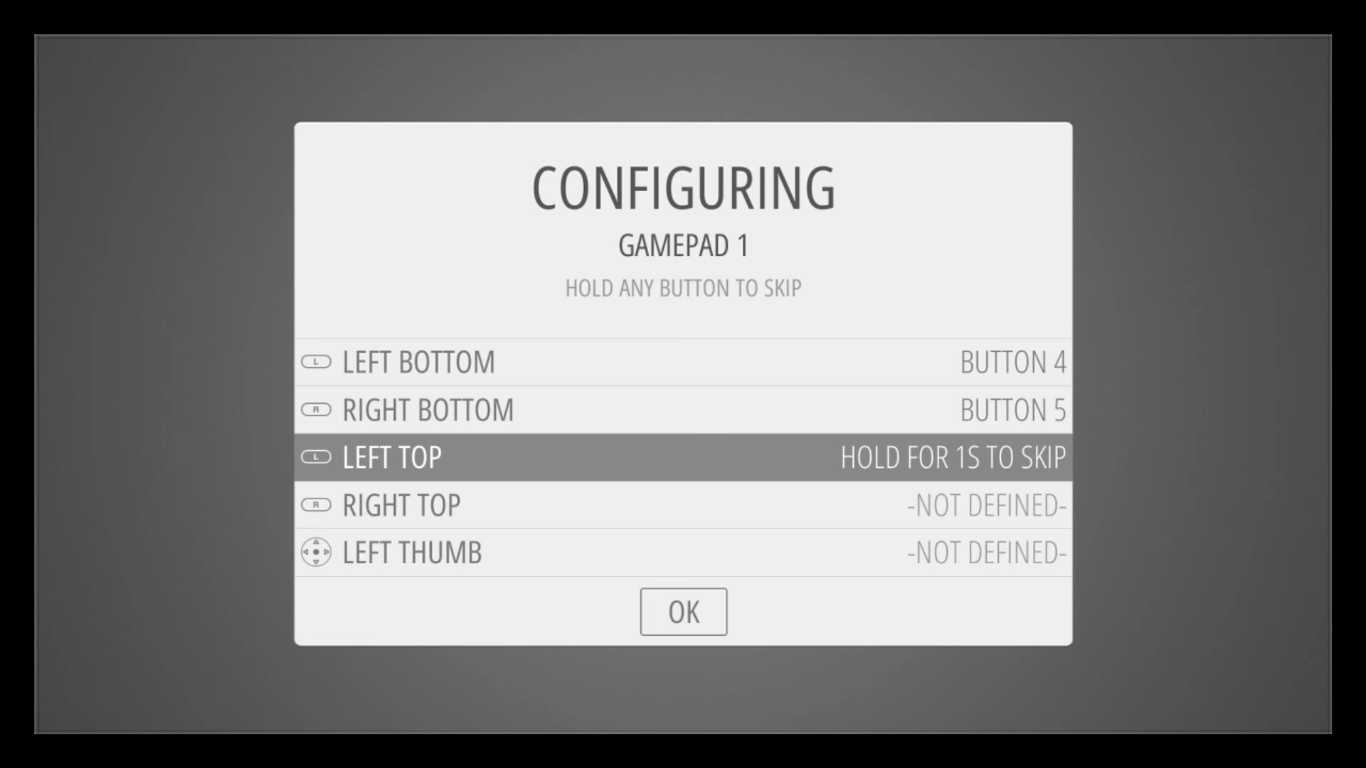
 Follow the onscreen instructions to configure your gamepad, if you run out of buttons just hold down a button to skip each unused button. When you get to OK press the button you have configured as "A".
 Go ahead and configure your controller as per the diagram below:
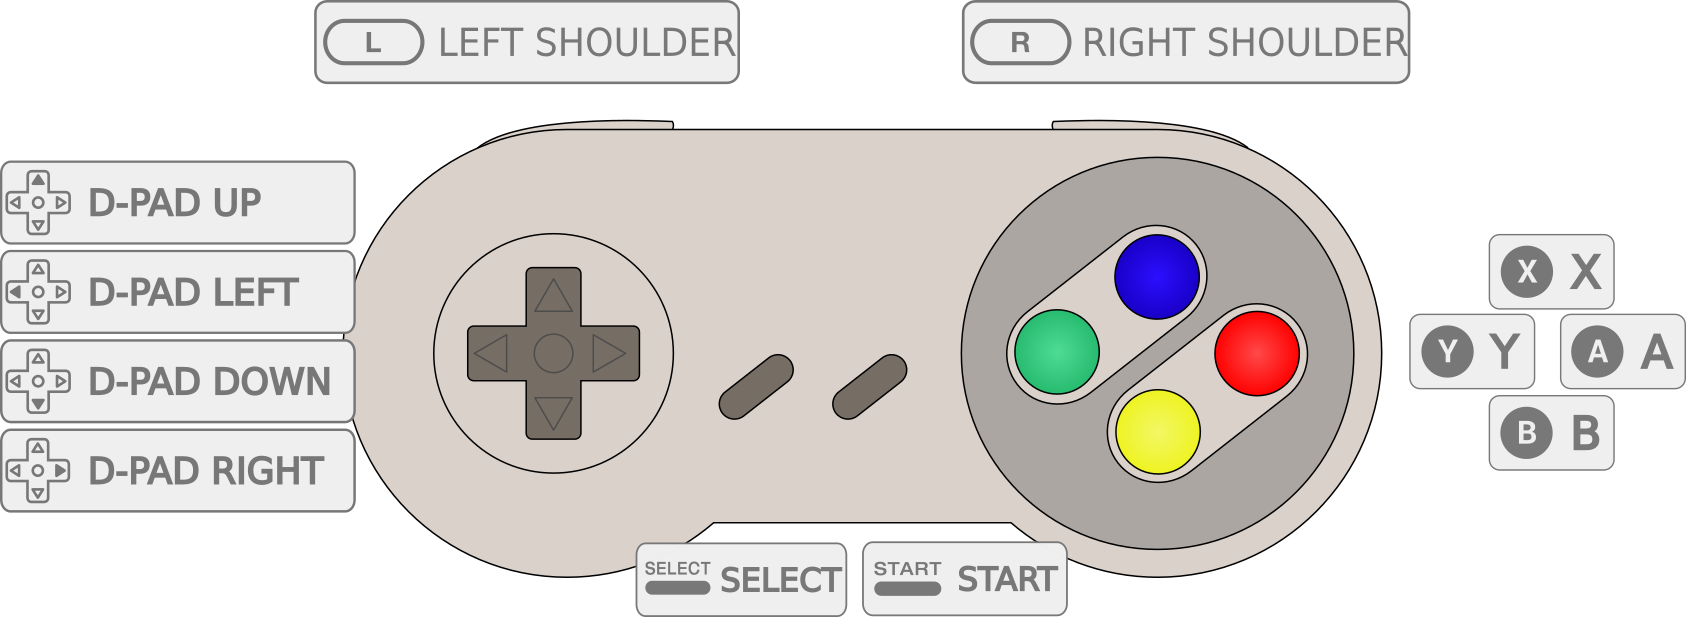
SNES Controller
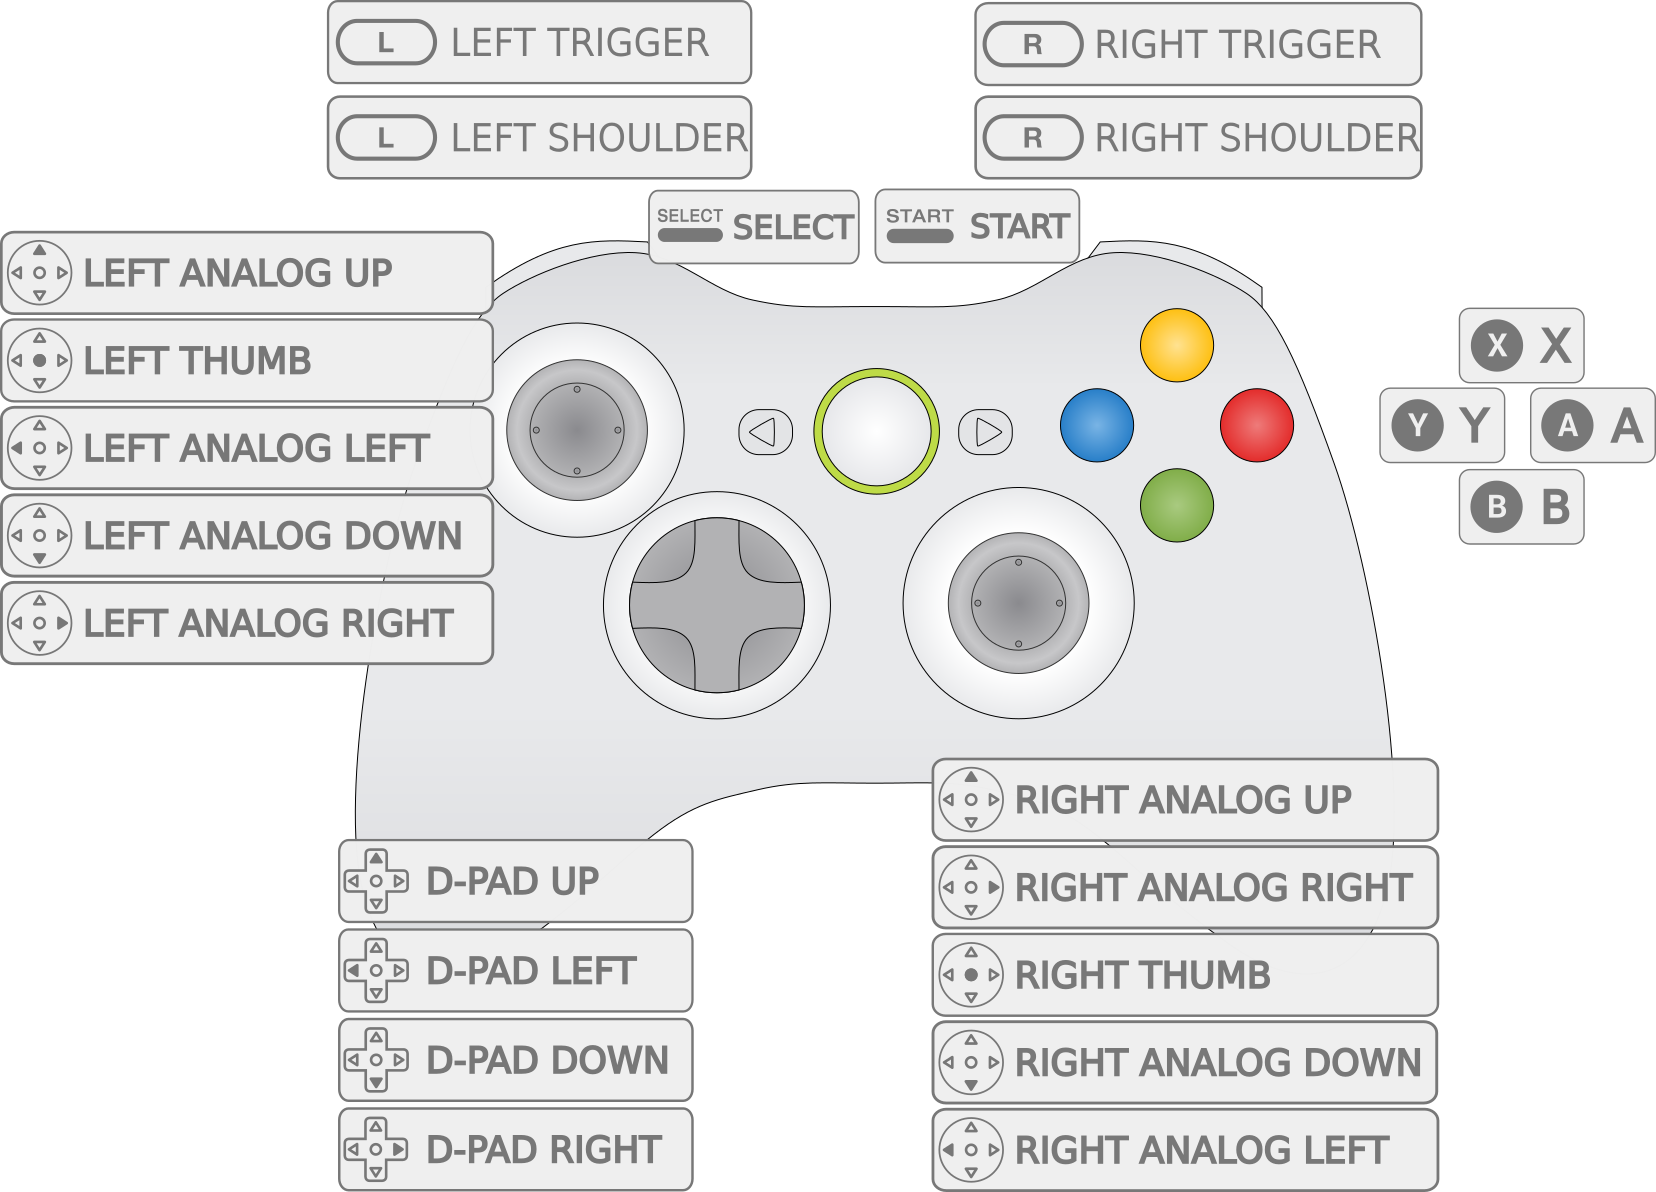
XBox 360 Controller
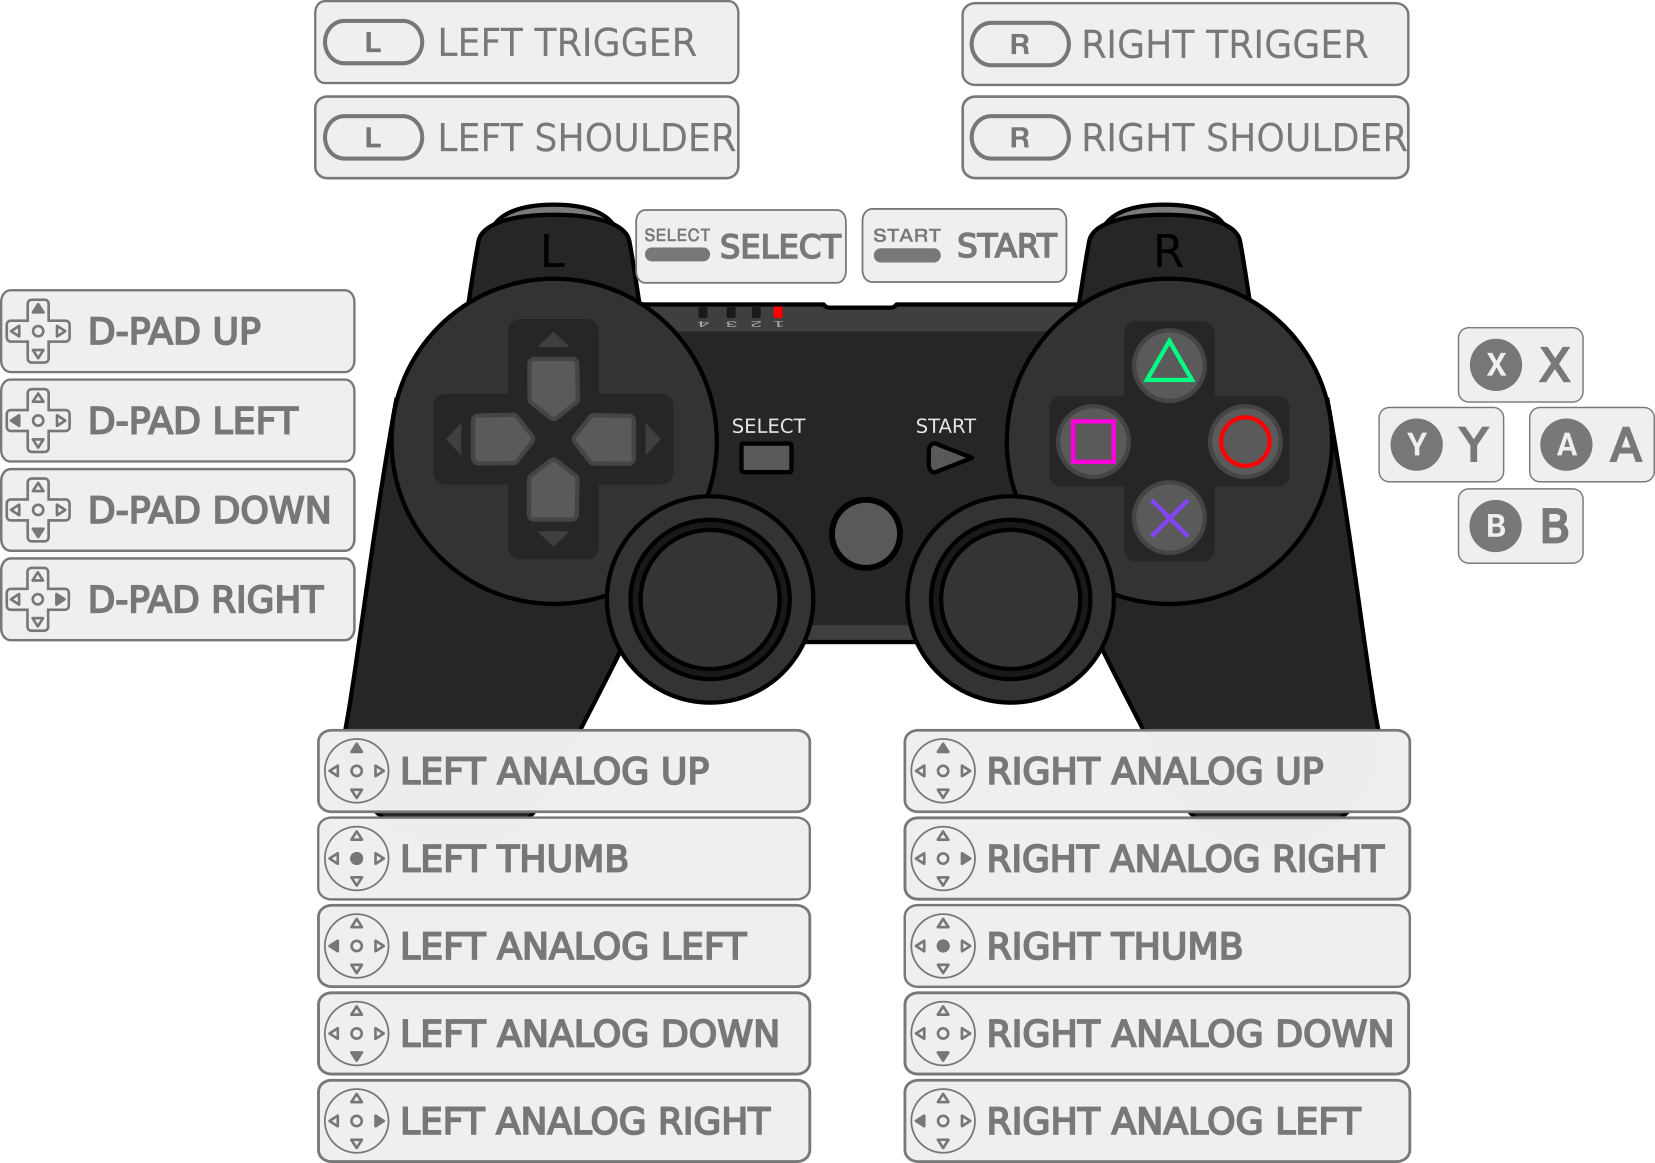
PS3 Controller
Hotkey
The Hotkey button enables you to press it in combination with another button to access functions such as saving, loading, and exiting in emulators. It is suggested to use the Select button as the hotkey. The following chart shows the default hotkey combinations. For example, if you chose Select as your Hotkey, that means you hold down Select while pressing the other button to execute the command.
| Hotkey Combination | Action |
|---|---|
| Hotkey+Start | Exit |
| Hotkey+Right Shoulder | Save |
| Hotkey+Left Shoulder | Load |
| Hotkey+Right | Input State Slot Increase |
| Hotkey+Left | Input State Slot Decrease |
| Hotkey+X | RGUI Menu |
| Hotkey+B | Reset |