How to use your Raspberry Pi as a VPN server: Part 1
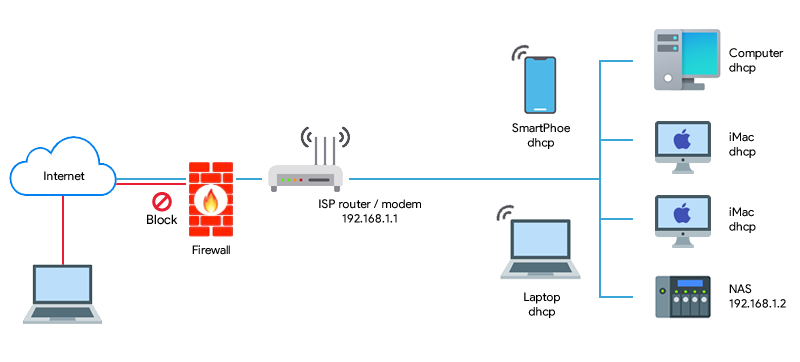
by Alan Pfahler on November 4, 2020Sometimes, we need to access our home network or device (NAS) from outside (Office/Coffee Shop), how to do it? let's take a look at the home network diagram:
 Because of the firewall, we can't directly access the home network or device, so we need a VPN server to help us safely and conveniently access the home network or device. Therefore, our home network diagram becomes like this:
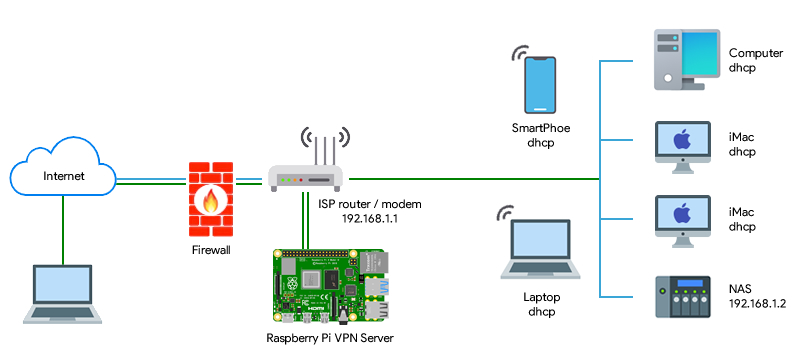 Today, we will use a Raspberry Pi to build a VPN server to access the home network or device from anywhere.
Requirements
- Raspberry Pi (2/3/3B+/4B) & Power Supply
- Fastoe Pre-Installed NOOBS MicroSD Card (32GB or Higher)
NOOBS is an easy operating system installer which contains Raspberry Pi OS, we recommend that beginners start with the "New Out of Box Software" (NOOBS) operating system for the Raspberry Pi.
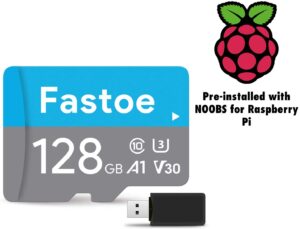
Fastoe NOOBS SD Card
Setting Up Raspberry Pi
- Connect Pi to a monitor, keyboard and mouse. Insert the Fastoe NOOBS micro SD card into your Raspberry Pi, and plug the Raspberry Pi into a power source.
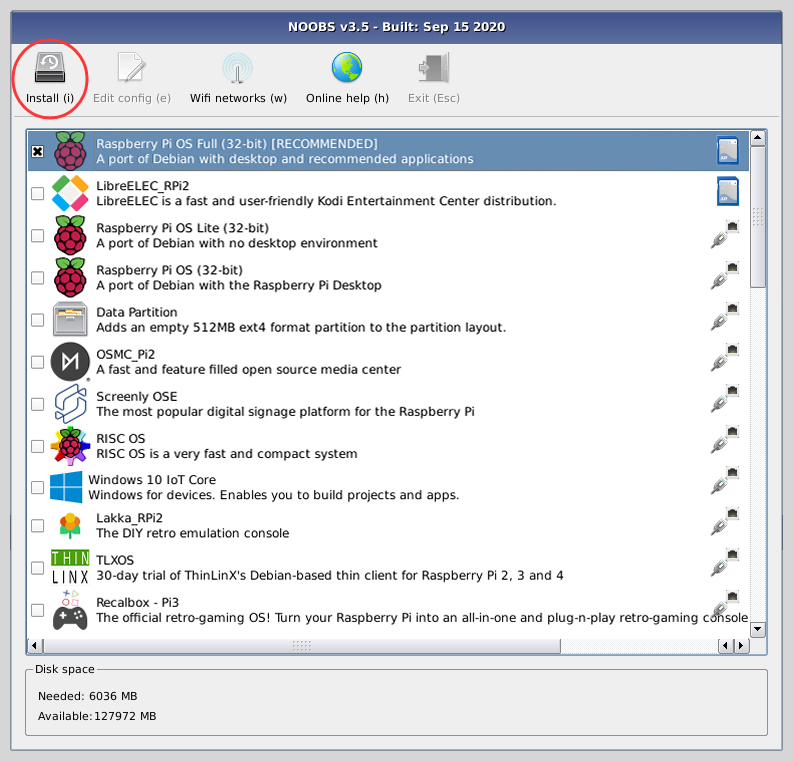
- You will be offered a choice when the installer has loaded. You should check the box for
Raspberry Pi OS, and then clickInstall.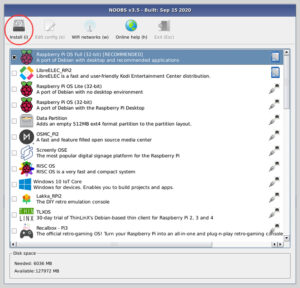
- It will take a while, waiting for install to complete.

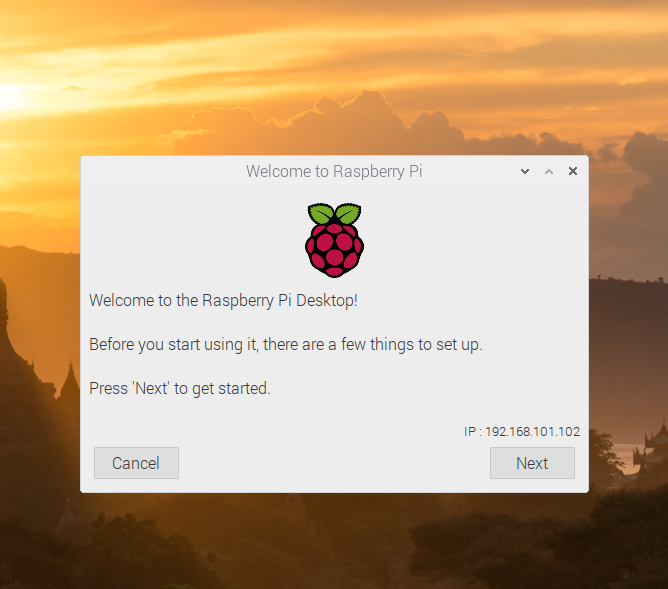
- When Raspberry Pi OS has been installed, click OK and your Raspberry Pi will restart and Raspberry Pi OS will then boot up.

- Complete the on-screen initial setup: setting the keyboard language, connecting to wireless network, setting the password for the regular user account pi, and setting the password for the system administrator account root. The default user is
pi, and the default password israspberry.
- We need to ensure that our Raspberry Pi has all the latest updates to the OS. To do this, open a terminal window.
sudo apt-get update
sudo apt-get upgrade
Finally reboot your Pi
sudo reboot - Configure a static IP, open a terminal window,
sudo nano /etc/dhcpcd.confScroll all the way to the bottom of the file and add one, or both of the following snippets. Depending on whether you want to set a static IP address for a wired connection or a wireless connection eth0 = wired, wlan0 = wireless. You’ll need to edit the numbers in the snippet so they match your network configuration.
interface eth0
static ip_address=192.168.1.2/24
static routers=192.168.1.1
static domain_name_servers=192.168.1.1
interface wlan0 static ip_address=192.168.1.3/24 static routers=192.168.1.1 static domain_name_servers=192.168.1.1


Setup VPN Server Software WireGuard
WireGuard is a free and open-source software application and communication protocol that implements virtual private network (VPN) techniques to create secure point-to-point connections in routed or bridged configurations. If you wanted, you could install WireGuard's Linux server on your Pi and tweak the configuration files manually, but there's an easier solution. PiVPNis a set of open-source scripts that turn WireGuard's configuration into an easy-to-use wizard, so even if this if your first time working with WireGuard, you shouldn't have too much trouble getting it set up.
- Install WireGuard (PiVPN), open a terminal window,
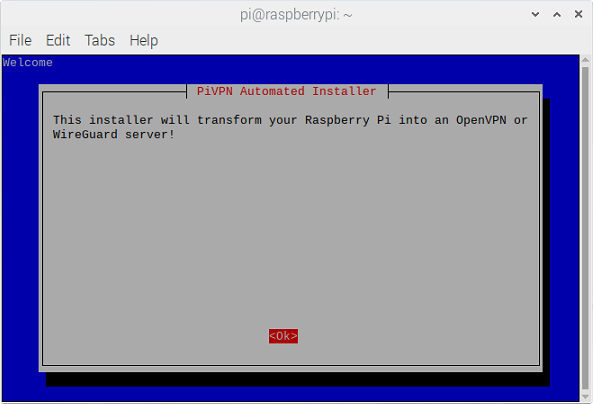
curl -L https://install.pivpn.io | bash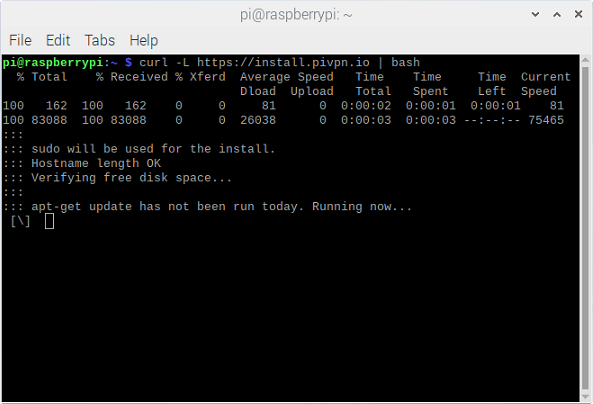 The script will take a few minutes to install PiVPN, and then it'll walk you through the configuration process.
 - To start the WireGuard installation process, press the ENTER key.
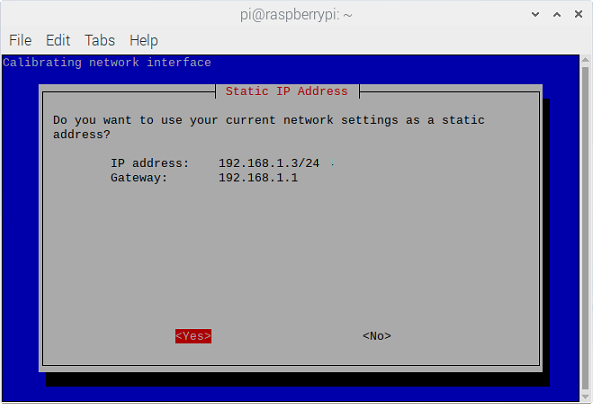
- The PiVPN is a SERVER so it needs a STATIC IP ADDRESS to function properly. We have configured a static IP address,so select the <No> option and press the ENTER key to continue.

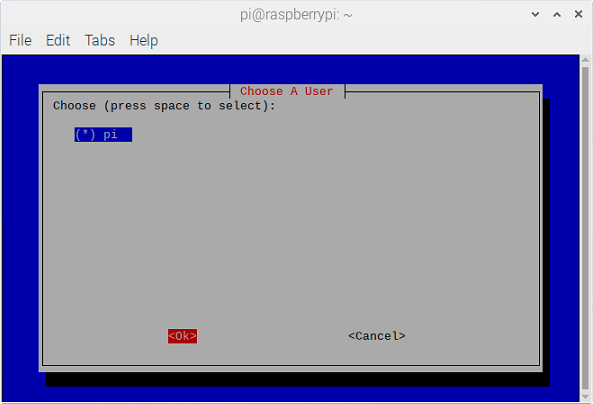
- Choose a local user that will hold your configurations. You can select user from a list of available users. Press the ENTER key to continue.
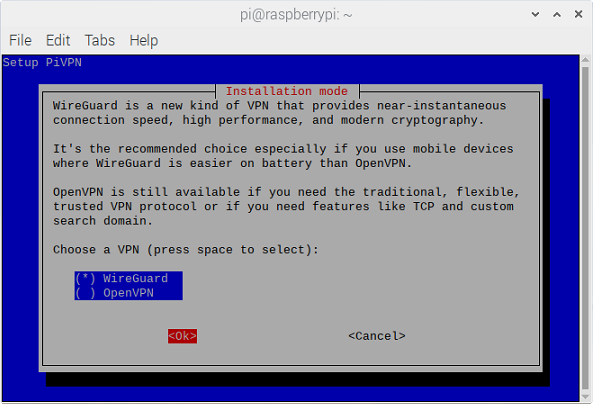
- Select the WireGuard VPN software and press the ENTER key to continue.
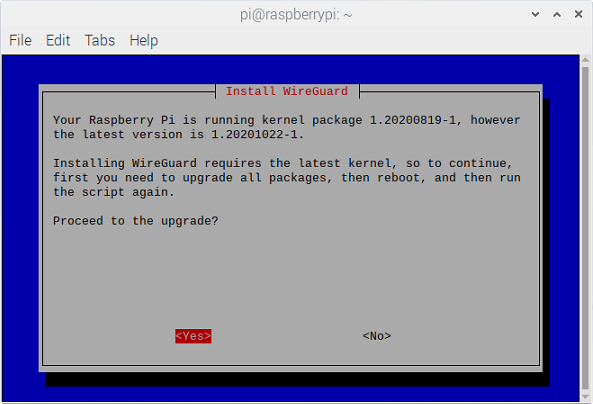
- Installing WireGuard requires the latest kernel, if your kernel version is not the latest, the script will guide you to upgrade.
- Set the default WireGuard port, please note to be able to access your WireGuard VPN from outside of your home network, you will need to port forward the port mentioned here. The type of this port is UDP.

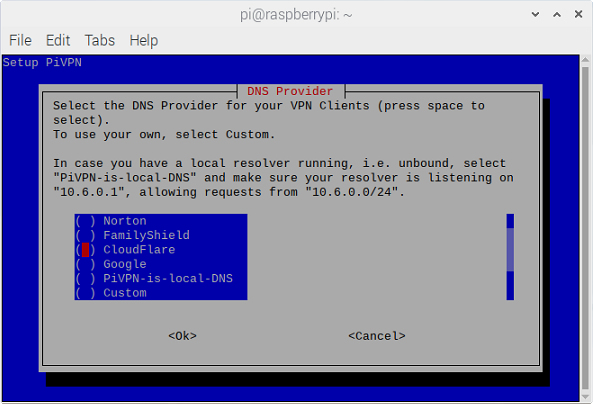
- Select the DNS provider for your VPN clients. For the tutorial, we chose to use the Cloudflare as it is relatively speedy.
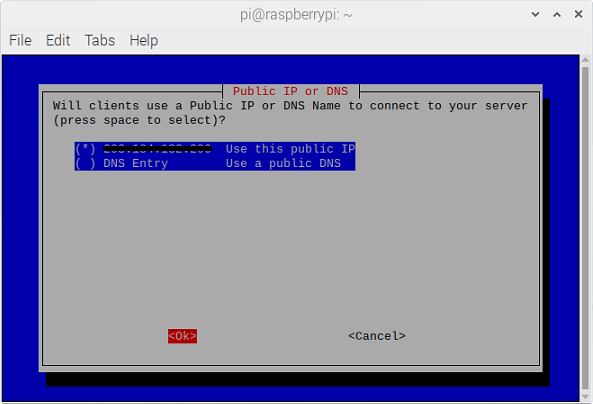
- This screen allows you to set your public IP address or public DNS entry. In this guide, whether you have a static IP address or not, choose 'Use this public IP', we will explain how to bind IP to domain name.
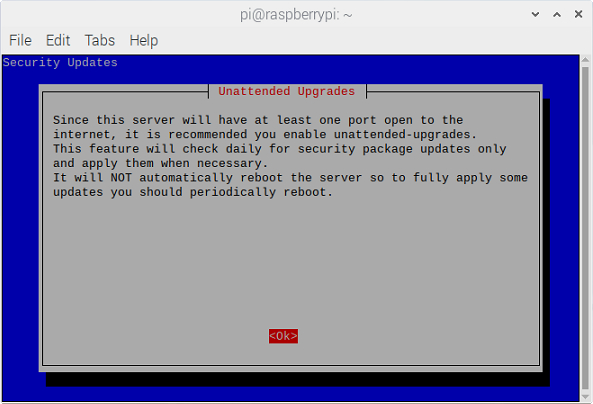
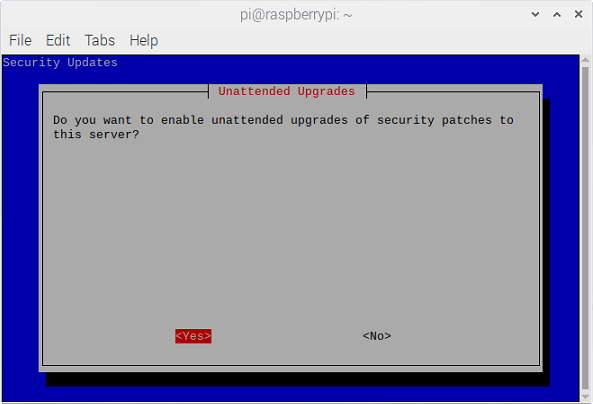
- You will now be prompted to say that the server keys will be generated, select OK. The next step will tell you that the VPN Server will check for unattended-upgrades, this is a great option, so press Enter again to accept, the packages will now install.
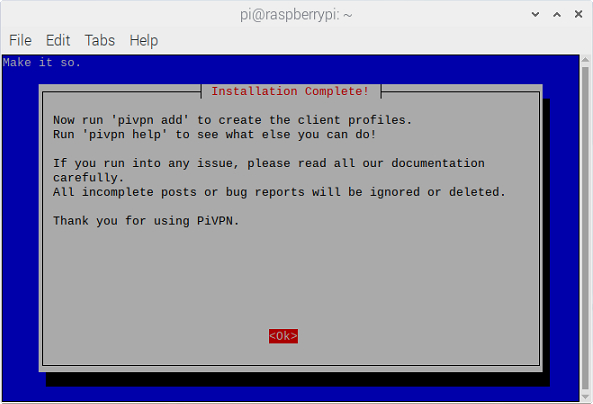
- The installation is now complete. Select yes to reboot your system.
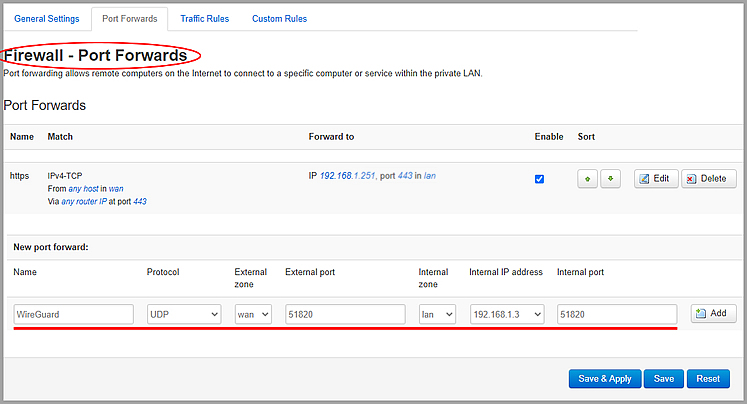
- Port Forwarding. We now need to port forward UDP port 51820 on our router to our Raspberry Pi. Port forwarding will be completely different on every brand’s router settings page. This is a great guide that shows how to port forward on a few different brands of routers, but the best thing to do is try and google the name of your router and port forwarding. Example: Netgear port forwarding.
Adding Clients to VPN Server on your Raspberry Pi
Now that we have successfully installed the VPN Server software to our Raspberry Pi, we can create a profile for it, you can do that with this command:
pivpn add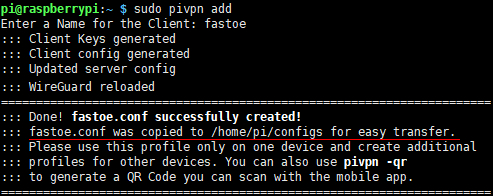 That is it for creating the .conf client config file. It can now be found as indicated at: /home/pi/configs directory. Now you need to configure your device to connect and login to the WireGuard. You can either go through the pain of transferring the .conf file or do it the easy way, using a QR code. To generate the WireGuard QR code, type the following, where
pivpn -qr <ProfileName> You can then scan this QR code using your iOS or Android devices, and find the WireGuard app on both the Google Play Store and the Apple App Store.
WireGuard for Windows
- Download the official WireGuard app for Windows (available in 32-bit and 64-bit) from the WireGuard website and run the installation.
- Import configuration file
- Copy
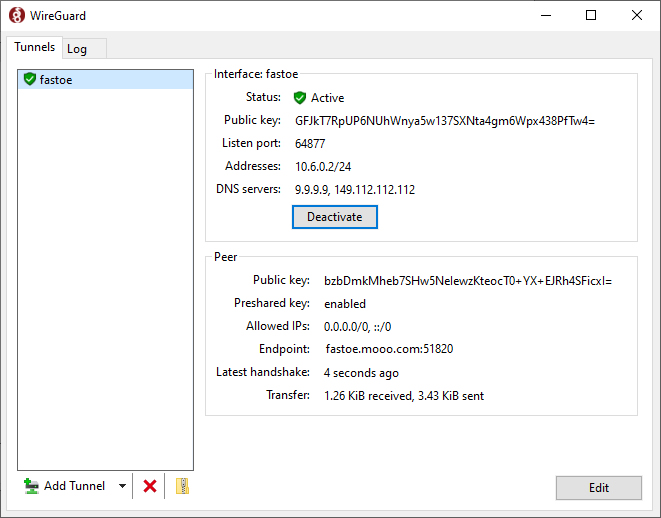
fastoe.confconfig file from Raspberry Pi. - Open the WireGuard app, click Add Tunnel, select the
fastoe.conffile, then click Open.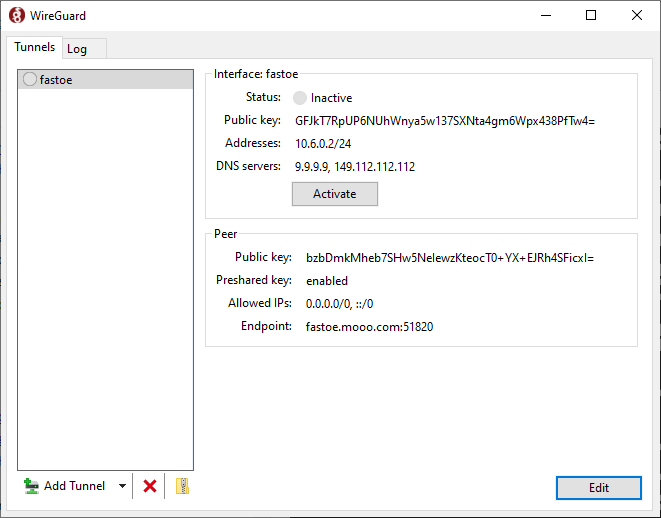
- Select a Server in the list to the left, press "Activate" to connect, and "Deactivate" to disconnect.
- Copy
WireGuard for macOS
- Download the official WireGuard app for macOS from the WireGuard website and run the installation.