Fastoe RetroPie Preloaded Games MicroSD Card Quick Start Guide
by Alan Pfahler on November 20, 2021Getting Started
Fastoe RetroPie SD Card allows you to turn your Raspberry Pi into a retro-gaming machine. It builds upon Raspbian, EmulationStation, RetroArch and many other projects to enable you to play your favourite Arcade, home-console, and classic PC games with the minimum set-up.
Specifications
| Capacity | RetroPie Version | Number of Games | SSH Username | SSH Password |
|---|---|---|---|---|
| 128GB | 4.7 | 10,000+ | pi | raspberry |
| 64GB | 4.7 | 6,000+ | pi | raspberry |
Compatibility
Compatible with the following Raspberry Pi models:
- Raspberry Pi 400
- Raspberry Pi 3 Model B+ 1GB
- Raspberry Pi 3 Model B 1GB
- Raspberry Pi 4 Model B 8GB
- Raspberry Pi 4 Model B 4GB
- Raspberry Pi 4 Model B 2GB
- Raspberry Pi 4 Model B 1GB
Basic Setup
Using Your RetroPie Preloaded SD Card
- Remove the existing microSD card from the SD slot.
- Insert the Fastoe RetroPie SD card into your Raspberry Pi. Note: Check whether the RetroPie SD card model is compatible with your Raspberry Pi, for example, if you have a Raspberry Pi 4, please select the Raspberry Pi 4/400 model.
- Plug the power supply into a socket and connect it to your Raspberry Pi’s power port.
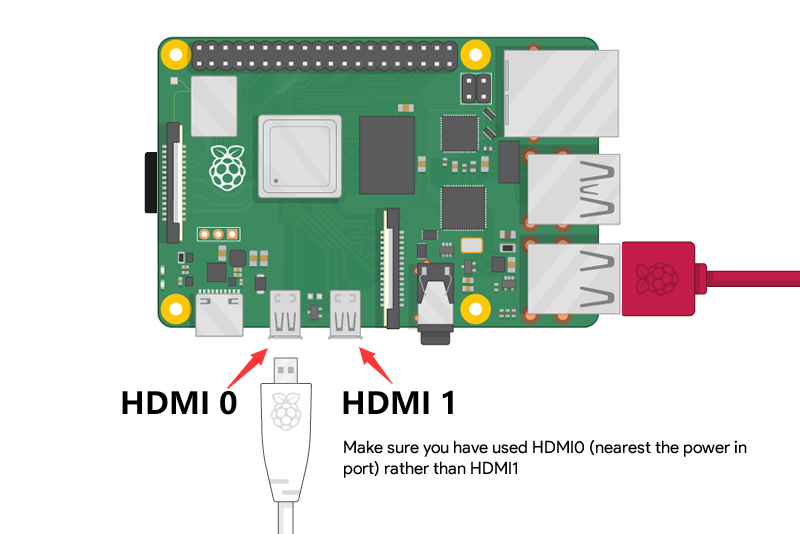
- Use a HDMI cable to connect the screen to Raspberry Pi’s HDMI port.
- Raspberry Pi 4 Model B: Connect your screen to the first of Raspberry Pi 4’s HDMI ports, labelled HDMI0.
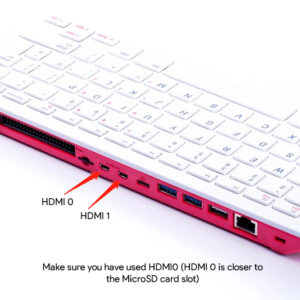
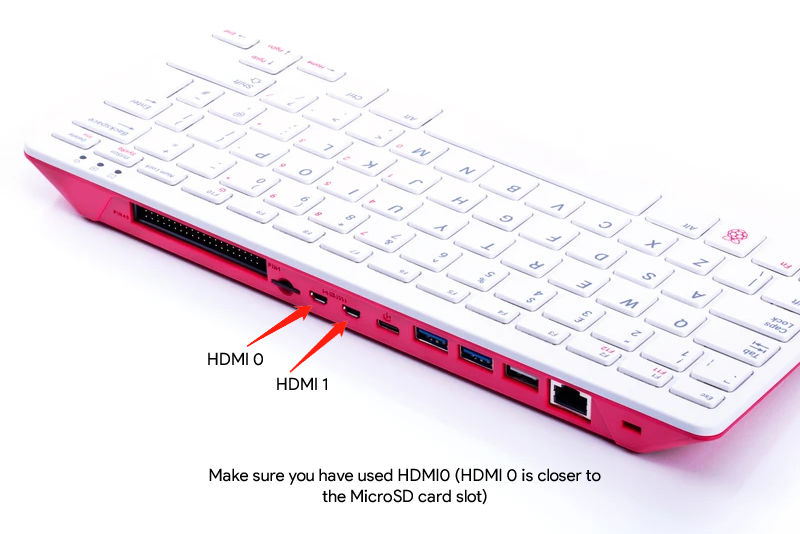
- Raspberry Pi 400: display must be connected to HDMI port closest to microSD card slot, labelled HDMI0.
- Raspberry Pi 4 Model B: Connect your screen to the first of Raspberry Pi 4’s HDMI ports, labelled HDMI0.
- Turn on the power and wait for the system to start.
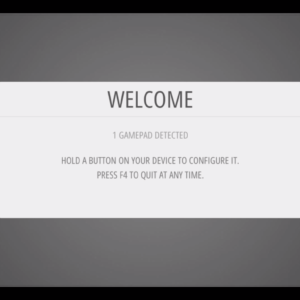
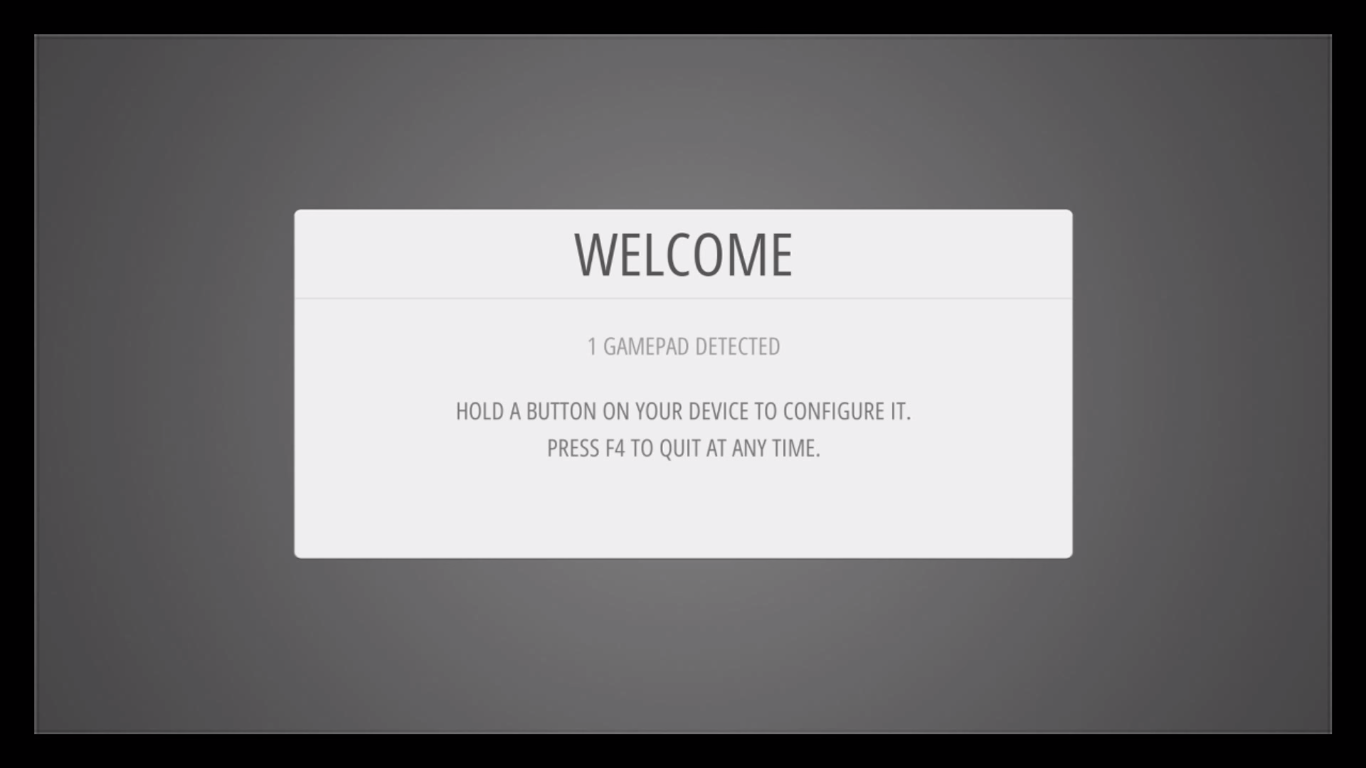
- On first boot you will be welcomed with the screen below, this menu will configure your controls for EmulationStation.
Note: We highly recommend that you install heat sinks and cooling fan, and choose the official power supply for Raspberry Pi.
F.A.Q
Why Raspberry Pi 4/400/3/3B+ says this board requires newer software?
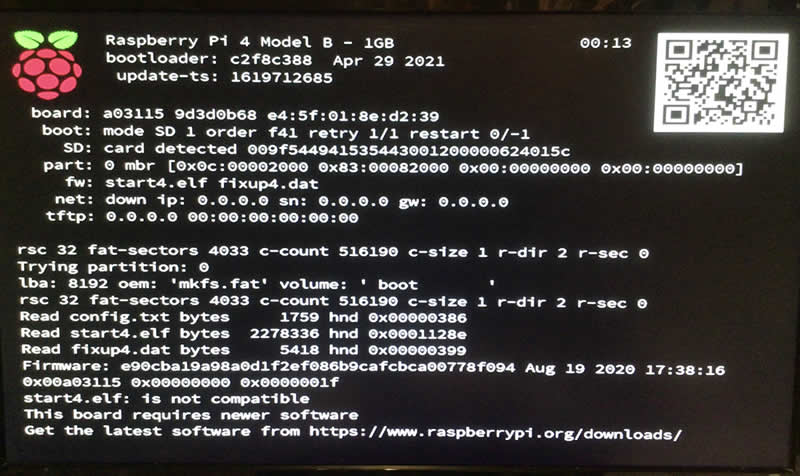 Contact us to solve this problem, support@fastoe.com.
Why Raspberry Pi 4/400/3/3B+ black screen after boot?
- Make sure HDMI is plugged in properly:
- Raspberry Pi 4 Model B: display must be connected to HDMI port closest to power jack.
- Raspberry Pi 400: display must be connected to HDMI port closest to micro SD card slot.
- Check the Raspberry Pi's Red and Green LED Lights. When a Raspberry Pi boots, one or more LEDs will activate. One is red, indicating power (PWR); the other is green, and indicates activity (ACT). When booting from an SD card, the ACT LED should blink in an irregular pattern, indicating that it is reading from the card. If it starts blinking in a regular, Morse code-like pattern, then it is signalling an error and contact us at support@fastoe.com.
- Check your display. If the ACT LED blinks in an irregular pattern, then booting has started. To determine whether or not it is your display that is causing the issue the best thing to do is to try your setup with another display. If the issue occurred while using a normal TV it would be advisable to try using a computer monitor.
-
Increase HDMI compatibility by running in "safe mode", please follow the steps below to debug problem:
- Insert the micro SD card into your computer. (Note: The system prompts to format the disk in drive X, DO NOT format, click cancel.)
- Using a file navigation application such as Windows Explorer, or Finder on a Mac, navigate to the micro SD card.
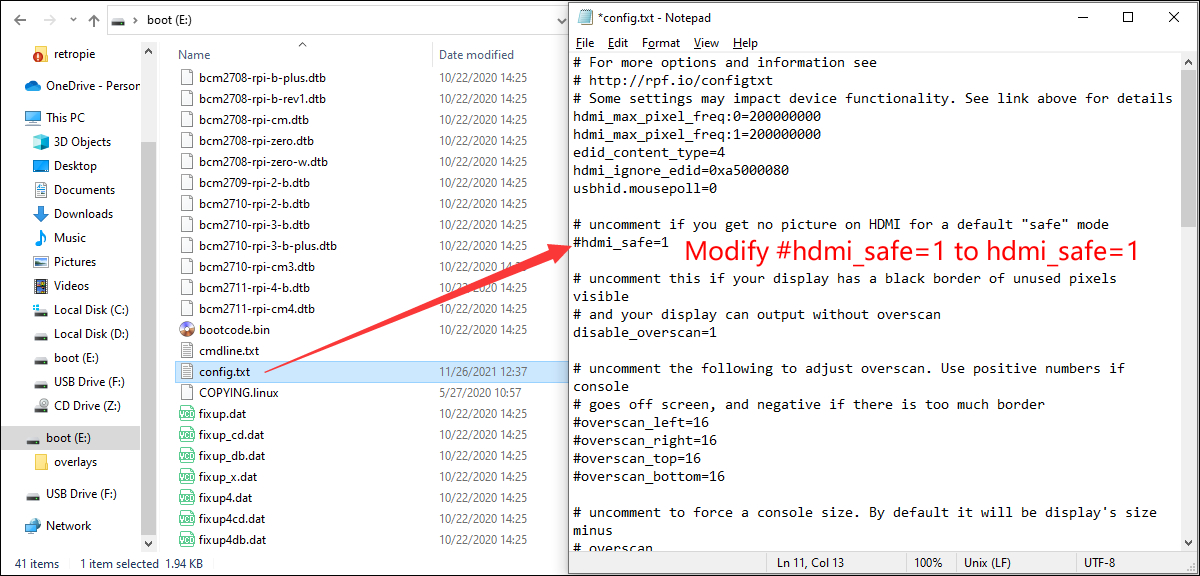
- In the route of the micro SD card you will find the config.txt file. Double click on it to open it.
- You can now make any amendments you need, just remember to save the changes before you exit the application.
 Simply delete the hashtag that precedes ‘hdmi_safe=1’ so the text should now read as below.
# uncomment if you get no picture on HDMI for a default "safe" mode
hdmi_safe=1
Now save the file, remove the micro SD card from your computer and insert it back into the Raspberry Pi, restart Raspberry Pi again.
References:
The black screen problem isn't solved yet??? All right, please contact the seller to replace the micro SD card.
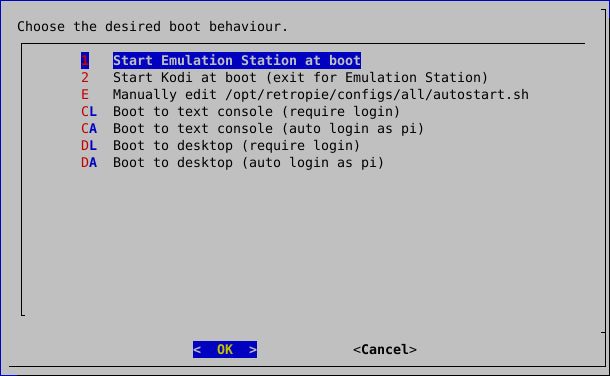
EmulationStation doesn't start?
 Type
Type sudo /home/pi/RetroPie-Setup/retropie_setup.sh into the terminal. Then, when you're in, go to Configuration Options > autostart > Start EmulationStation at Boot. Select it and then reboot the Pi.
How do I reconfigure my controller on RetroPie?
SSH in Raspberry Pi, run sudo ~/RetroPie-Setup/retropie_setup.sh and go to Emulation Station configuration via Manage Packages -> Manage Core Packages -> emulationstation (Installed) -> Configurations / Options (it may also be named Configurations / Tools) -> Clear/Reset Emulation Station input configuration
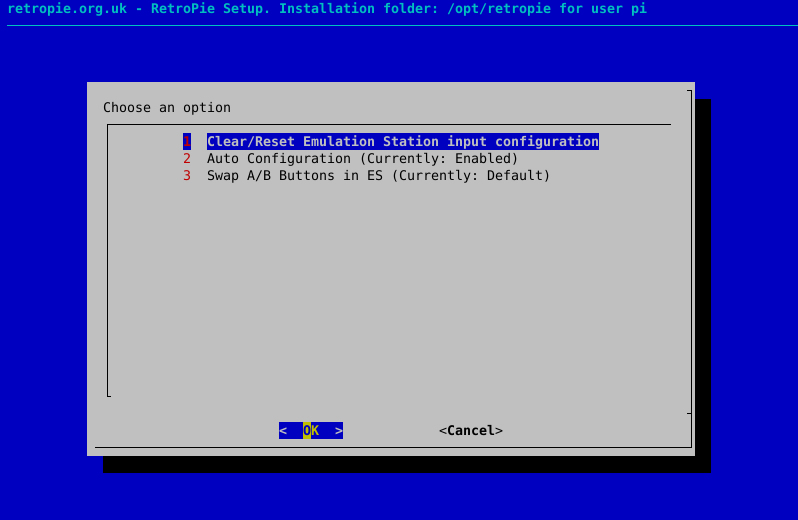 Choose
 OK to proceed to clear the controller settings.
How do I remap buttons on joystick?
- Start a game of the system you want to remap the buttons
- Invoke RGUI (Hotkey+X with player 1)
- Go to Quick Menu and then Controls
- Configure the buttons the way you want
- Select Save Core Remap File
- OR, if you want to save this remapping for the current game only, select Save Game Remap File
Remaps are saved as .rmp files in directory:
/opt/retropie/configs/SYSTEMNAME/References:
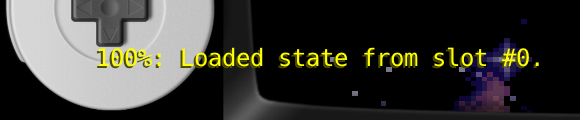
How to save/load game records?
Loading a saved game:
Hotkey + Left Shoulder
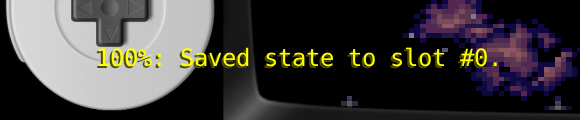
 saving a game:
Hotkey + Right Shoulder
How to switch the audio output between jack and HDMI?
Options -> Audio Tools -> Audio Settings, then choose either Headphones (for the 3.5mm jack) or HDMI as necessary.
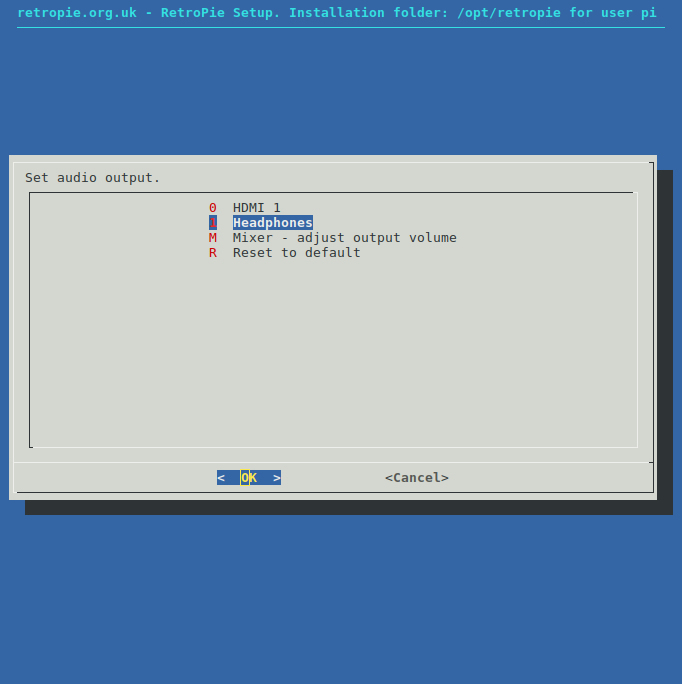 Choose OK, then reboot.
Technical Support
If you have any questions, please feel free to contact us at support@fastoe.com.(Respond within 24 hours)