How to Turn a USB Printer Into a Wireless Printer: Part 3
by Alan Pfahler on November 2, 2020This is the continuation of the Part 2 of the article, where we covered the server setup on our Raspberry Pi. If you have not setup your Pi or the printing service CUPS, I recommend you to follow Part 1 and Part 2 first.
-
Add a printer in Windows 10:
- Select "Start" and type "printer" in the search box.
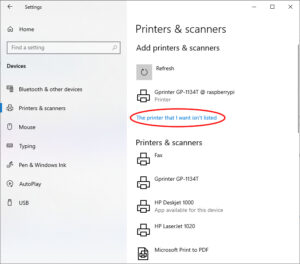
- Choose "Printers & scanners".
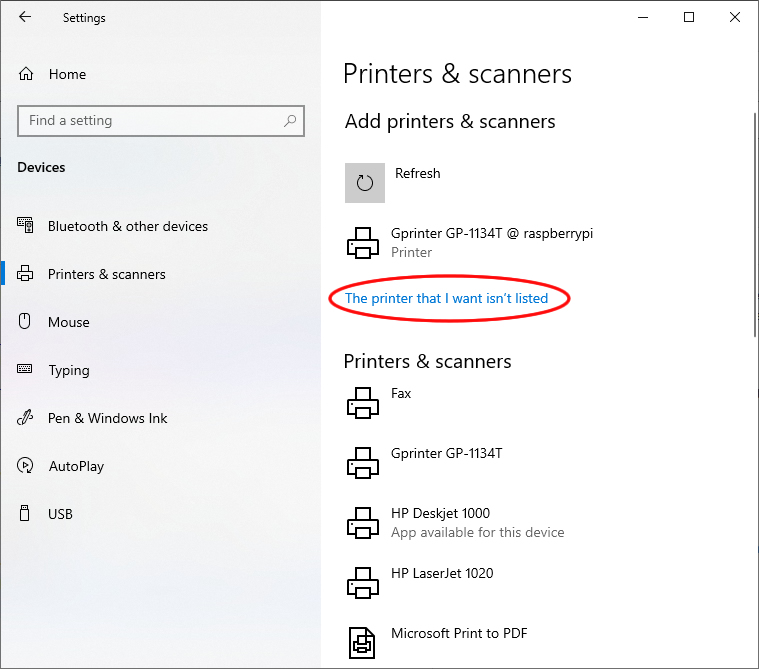
- Select "Add a printer or scanner".
- Wait for the "The printer that I want isn't listed" option to appear, then select it.
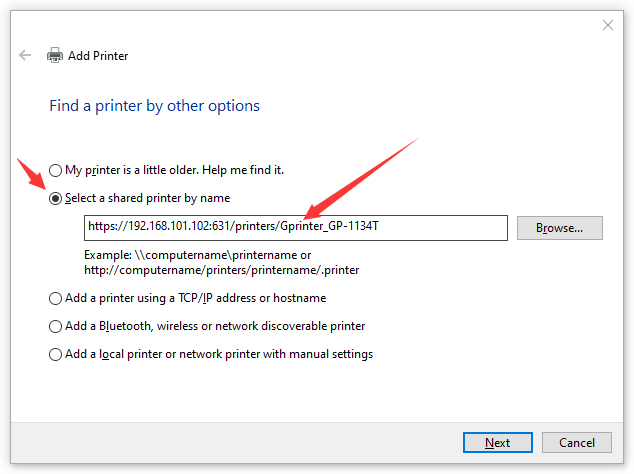
- Select "Select a shared printer by name", and enter the address of your printer:
https://<the Pi’s IP or hostname>:631/printers/queue_nameHere queue_name is the same as printer’s Queue Name in CUPS web interface in Printers tab. In my case it is:
https://192.168.101.102:631/printers/Gprinter_GP-1134T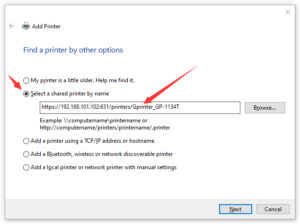
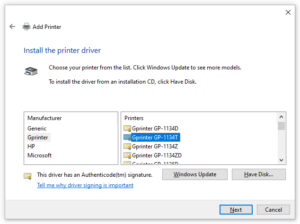
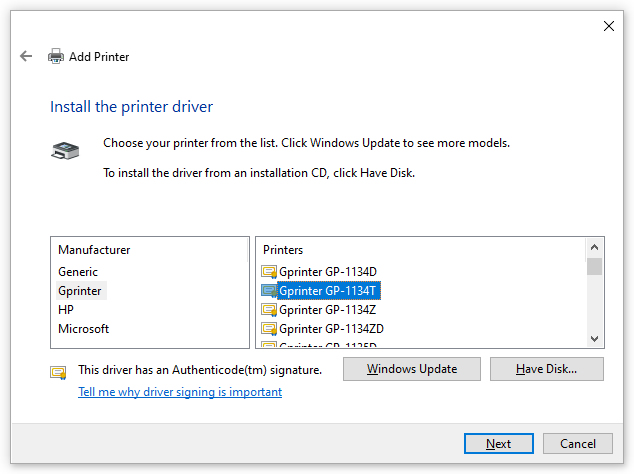
- Select your printer from the list, and click the Next button.
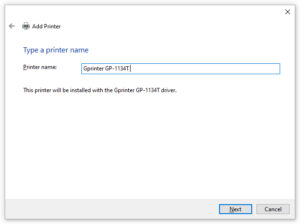
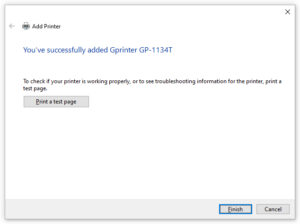
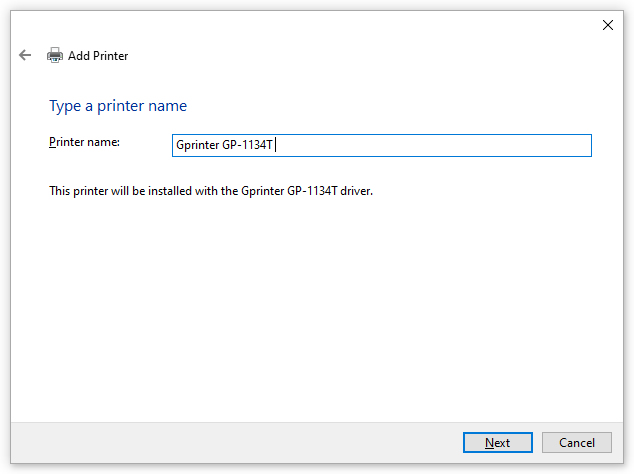
- Type a name for the printer, and click the Next button.
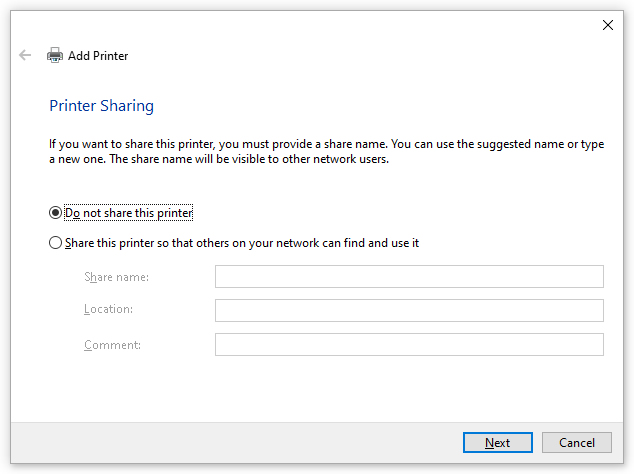
- Select the Do not share this printer option.
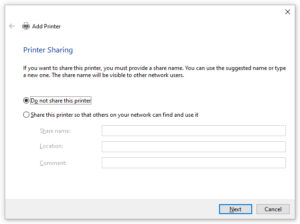
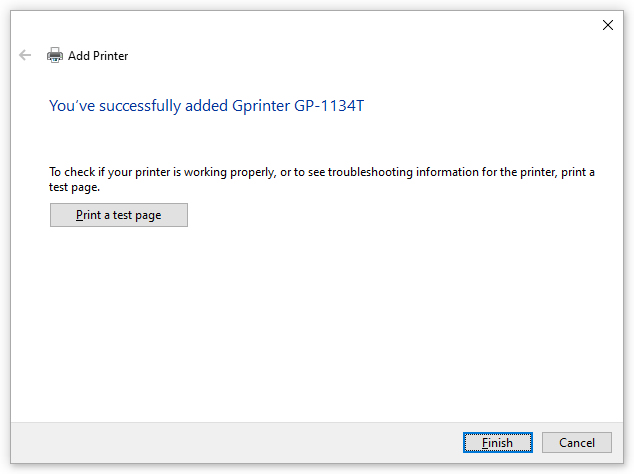
- Click the Finish button.
-
Add a printer in Linux (Ubuntu 20.04):
- Select "Start" and type "printer" in the search box.
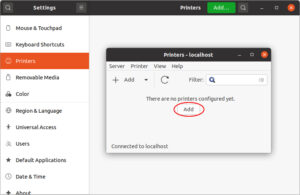
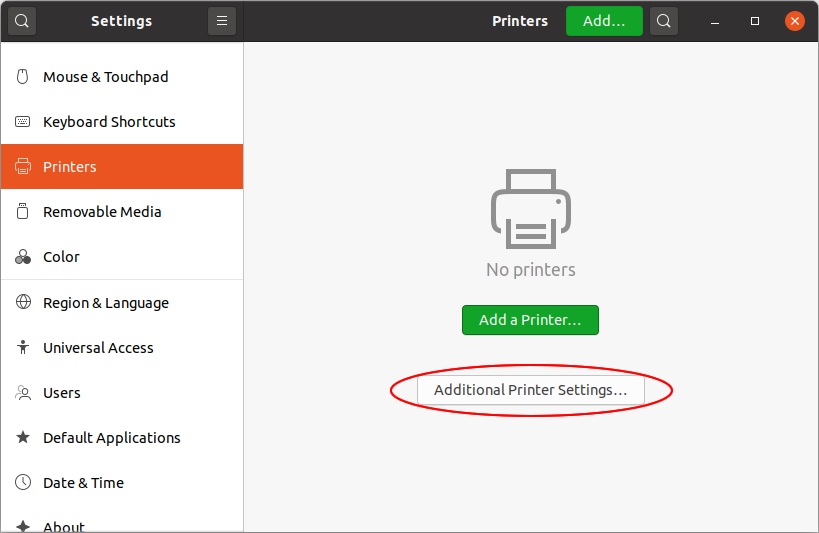
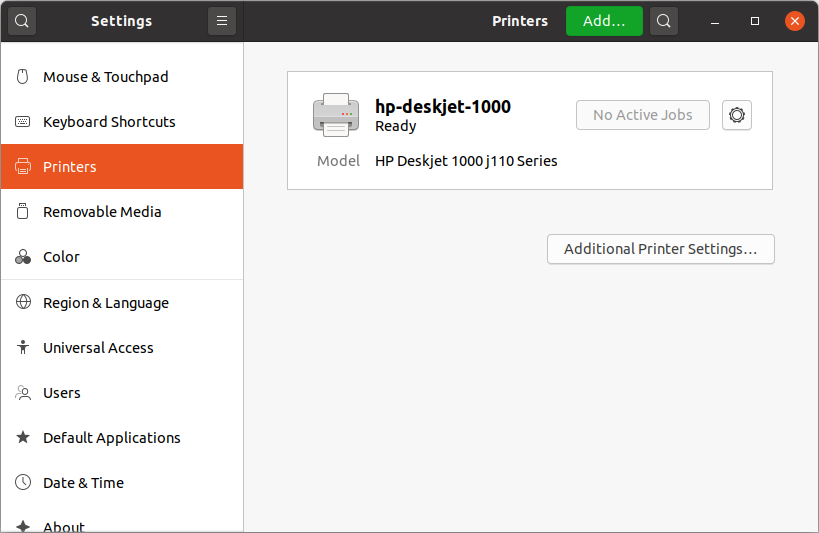
- Choose "Printers".
- Click the "Additional Printer Settings" button.

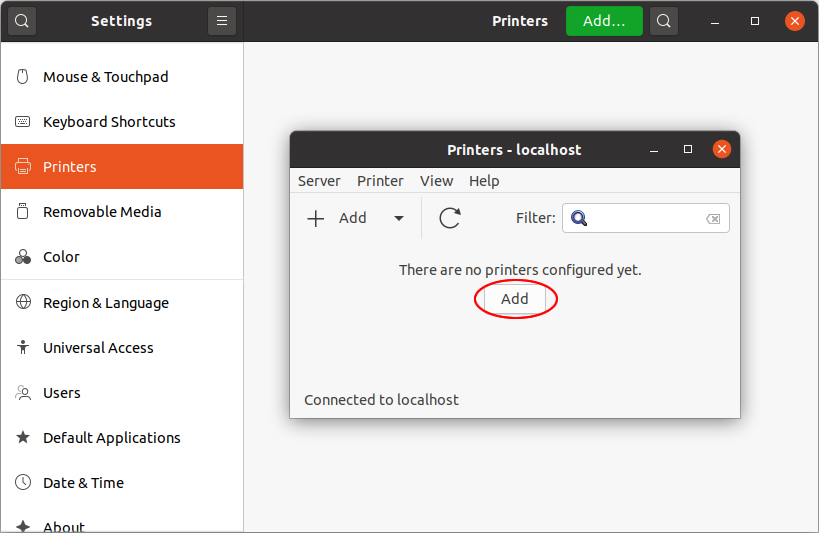
- Click the "Add" button.
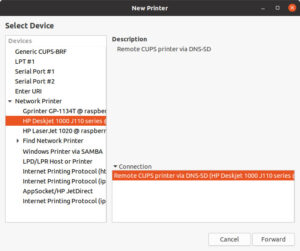
- Expand "Network Printer" and it would automatically scan available printers on the local network. As you can see, it found my HP Deskjet printer. Click the "Forward" button.
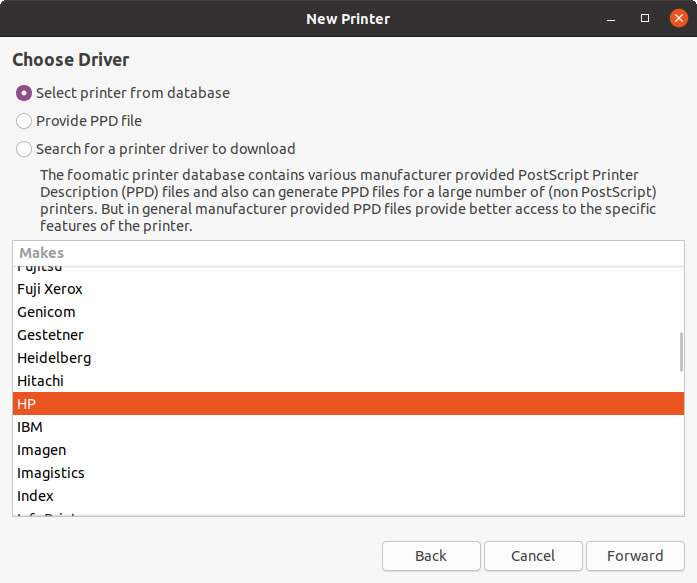
- Select the Select printer from database option. Choose the manufacturer from the list below. Click the "Forward" button.
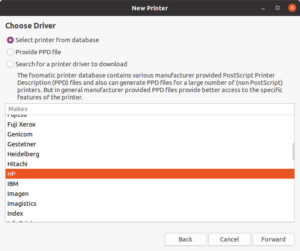
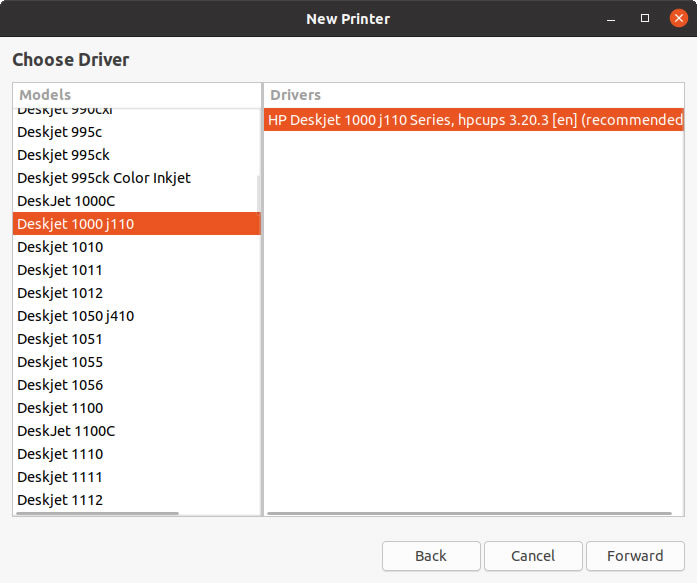
- Choose the model from the left-hand column. In the right-hand column, choose the driver with "(recommended)" at the end of its name. Click the "Forward" button.

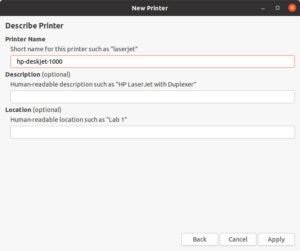
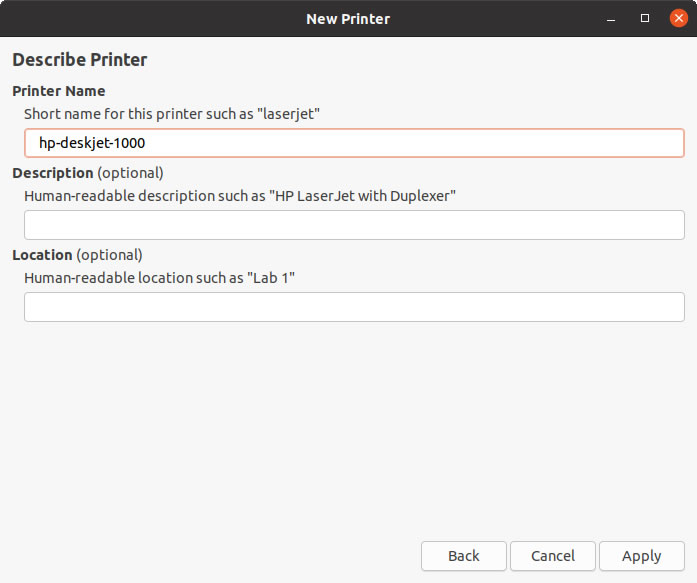
- Fill out the printer name, printer model, and printer location. Click the "Apply" button to complete adding the printer.

-
Add a printer in macOS:

Once you've completed the steps, you should be able to start printing to the device.